Recbord plastic garden edging is a popular choice for people who want a simple way to define the boundaries of their garden and create an aesthetically pleasing and functional finish. They are made from high quality plastic that is durable, easy to clean and requires no painting or waterproofing.
Recbord garden edging is very versatile and is available in 3 variants (45, 58 and 78mm) to suit individual needs and garden style. They can be used as a border between different types of vegetation, separating lawn from flowerbeds, shrubs from flower beds, or as a finishing touch to garden paths.
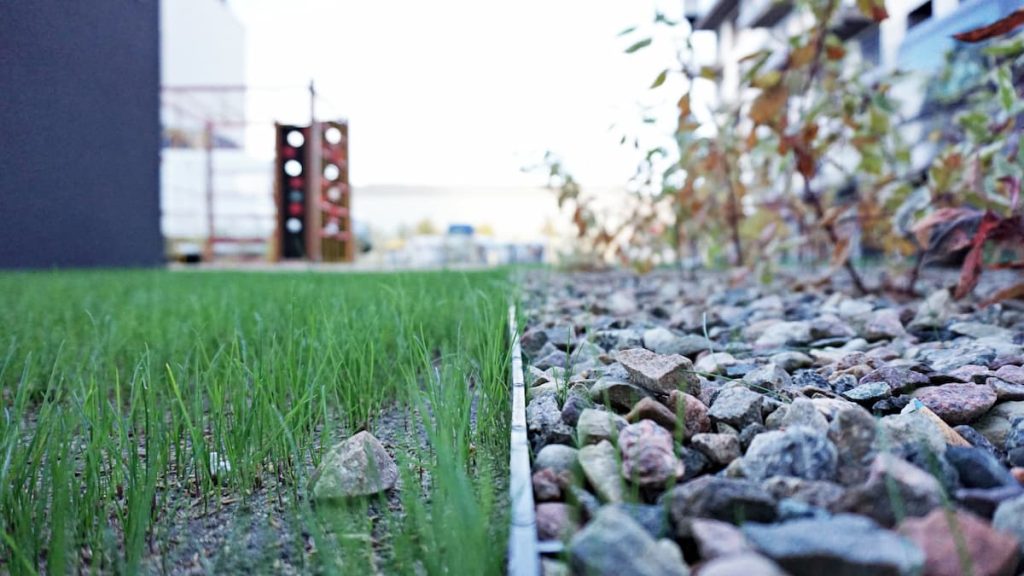
One of the main advantages of Recbord plastic garden edging is its easy installation and flexibility. They can be installed quickly and easily without the use of specialist equipment or skills. Simply cut out a section of lawn or ground, place the edging in the desired position and secure it to the ground using the B‑PIN24 fixing anchors. Each edging has a convenient and durable fixing lock, with which the edging can be joined together, and a special groove for an electrical cable or plant watering hose.
Recbord garden edging is also extremely resistant to weather conditions such as rain, snow, UV radiation and chemical pesticides. They are durable and do not require frequent replacement. In addition, they are easy to keep clean. They require minimal maintenance.
What about going green? All Recbord garden edging is made from recycled plastic, making it more eco-friendly than traditional edging made from wood or metal. All this makes garden edging increasingly popular with gardening enthusiasts.
Installing plastic garden edging is simple and can be done by yourself without the need for a professional. Here are the steps to install plastic garden edging:
The installation of plastic garden edging is simple and requires only a few tools and materials, such as gardening shears, fixing pins, string and paint. Once the above steps have been followed, the plastic garden edging will be well fixed and ready for use.
